Contents
1. Introduction
Swagger is an open specification for describing and documenting RESTful APIs, it is a standard specification and set of tools for defining, producing, consuming, and visualizing RESTful web services. It makes it easy to design, build, document, and consume APIs efficiently.
But, if we are using the JWT in the API (find more in my previous article), you will find that can’t get data from the API in the Swagger UI, because we also need to pass the JWT to the API to get data, but it seems there is no way to do that, right?
Okay, in this article, I will show you how to do that!
2. Setup the Swagger
We can setup the Swagger in the Program.cs with services:
builder.Services.AddSwaggerGen(options =>
{
    //...
}
So, if we want to support JWT in the UI, just need to add the below codes
builder.Services.AddSwaggerGen(options =>
{
     // add JWT Authentication
    var securityScheme = new OpenApiSecurityScheme
    {
        Name = "JWT Authentication",
        Description = "Enter JWT Bearer token **_only_**",
        In = ParameterLocation.Header,
        Type = SecuritySchemeType.Http,
        Scheme = "bearer", // must be lower case
        BearerFormat = "JWT",
        Reference = new OpenApiReference
        {
            Id = JwtBearerDefaults.AuthenticationScheme,
            Type = ReferenceType.SecurityScheme
        }
    };
    options.AddSecurityDefinition(securityScheme.Reference.Id, securityScheme);
    options.AddSecurityRequirement(new OpenApiSecurityRequirement
    {
        {securityScheme, new string[] { }}
    });
});
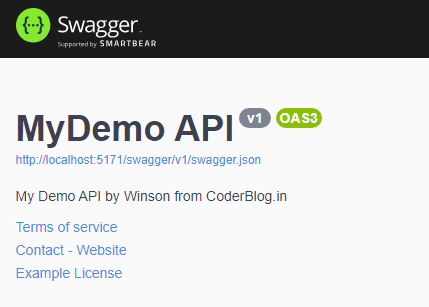
By the way, you can also change the default Swagger Doc description as below
options.SwaggerDoc("v1", new OpenApiInfo
{
    Version = "v1",
    Title = "MyDemo API",
    Description = "My Demo API by Winson from CoderBlog.in",
    TermsOfService = new Uri("https://www.coderblog.in"),
    Contact = new OpenApiContact
    {
        Name = "Contact",
        Url = new Uri("https://www.coderblog.in")
    },
    License = new OpenApiLicense
    {
        Name = "Example License",
        Url = new Uri("https://example.com/license")
    }
});
3. Find the JWT and use it
After that, restart the website, you will find there is an Authorize button in the Swagger UI.
After clicking this button, it will pop up to let you input the JWT value
Maybe you will ask how can I find the JWT token? All right, you can login to the website in frontend (I am still using this demo site), after login in Chrome, you can find the JWT in the Application tab, and find the local storage
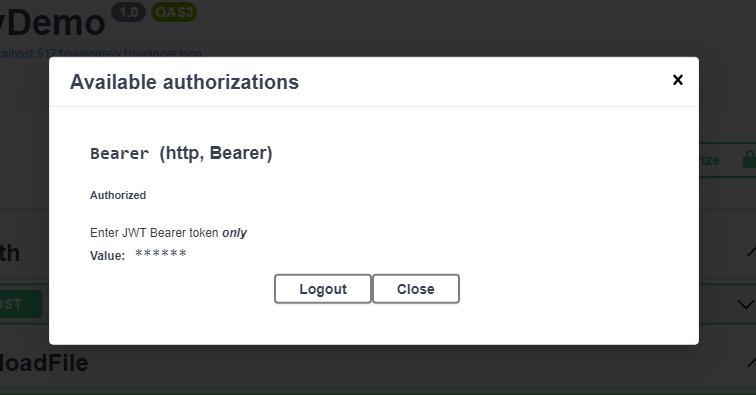
And then input the JWT in Swagger, and you will find that will be a login status.
Also, you can find the lock is changed.
Now, you can try and access your API as well! 🙂
And if you change the Swagger Doc, you will also can find that the Swagger Doc has been changed
4. Conclusion
Swagger is very helpful for testing the API and finding the bugs, but if we use the JWT token then need to do the above settings to allow the Swagger to support it, this can save much of our time for the API testing!~
![]()


