Contents
- 1. What’s the App lifecycle state in Flutter?
- 2. Listen to the App lifecycle events before Flutter 3.13
- 3. The new way to listen the App lifecycle event after Flutter 3.13
- 4. What’s the difference?
- 5. Cancel the App exit action
- 6. Conclusion
- Oh hi there 👋It’s nice to meet you.
- Sign up to receive awesome content in your inbox.
1. What’s the App lifecycle state in Flutter?
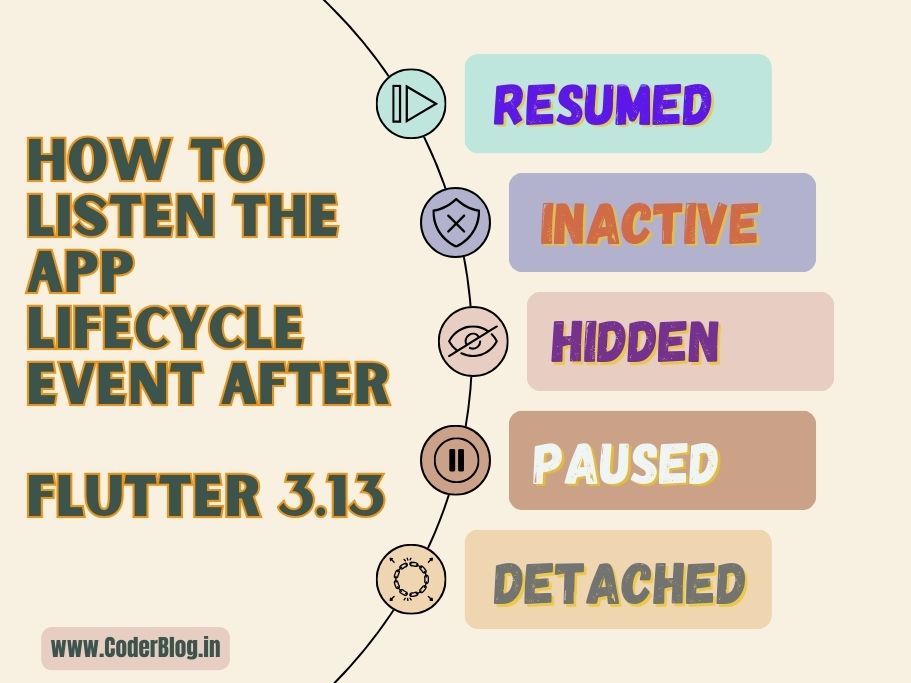
In Flutter, there are several lifecycle events that you can listen to in order to handle different states of your app, but today, we will discuss the didChangeAppLifecycleState events. This event is triggered whenever the app’s lifecycle state changes. The possible states are resumed, inactive, paused, detached and hidden. You can listen to this event using the WidgetsBindingObserver mixin.
resumed: On all platforms, this state indicates that the application is in the default running mode for a running application that has input focus and is visible.inactive: At least one view of the application is visible, but none have input focus. The application is otherwise running normally.paused: The application is not currently visible to the user, and not responding to user input.detached: The application is still hosted by a Flutter engine but is detached from any host views.hidden: All views of an application are hidden, either because the application is about to be paused (on iOS and Android), or because it has been minimized or placed on a desktop that is no longer visible (on non-web desktop), or is running in a window or tab that is no longer visible (on the web).
By implementing these lifecycle states in your stateful widget, you can respond to different events and manage the state of your app accordingly. For example, you can pause or resume certain operations when the app goes into the background or handle data fetching when the widget’s dependencies change.
2. Listen to the App lifecycle events before Flutter 3.13
In versions of Flutter before 3.13, you could handle app lifecycle events by utilizing the WidgetsBindingObserver mixin. To do this, you would include the WidgetsBindingObserver mixin in your State class and override the didChangeAppLifecycleState method. Within this method, you could access the current state of the app (AppLifecycleState) and respond accordingly to different app lifecycle events.
class AppLifecyclePageOld extends StatefulWidget {
  const AppLifecyclePageOld({super.key});

  @override
  State<AppLifecyclePageOld> createState() => _AppLifecyclePageOldState();
}

class _AppLifecyclePageOldState extends State<AppLifecyclePageOld>
    // Use the WidgetsBindingObserver mixin
    with WidgetsBindingObserver {

  @override
  void initState() {
    super.initState();

    // Register your State class as a binding observer
    WidgetsBinding.instance.addObserver(this);
  }

  @override
  void dispose() {
    // Unregister your State class as a binding observer
    WidgetsBinding.instance.removeObserver(this);

    super.dispose();
  }

  // Override the didChangeAppLifecycleState method and
  //Listen to the app lifecycle state changes
  @override
  void didChangeAppLifecycleState(AppLifecycleState state) {
    super.didChangeAppLifecycleState(state);

    switch (state) {
      case AppLifecycleState.detached:
        _onDetached();
      case AppLifecycleState.resumed:
        _onResumed();
      case AppLifecycleState.inactive:
        _onInactive();
      case AppLifecycleState.hidden:
        _onHidden();
      case AppLifecycleState.paused:
        _onPaused();
    }
  }

  void _onDetached() => print('detached');

  void _onResumed() => print('resumed');

  void _onInactive() => print('inactive');

  void _onHidden() => print('hidden');

  void _onPaused() => print('paused');

  @override
  Widget build(BuildContext context) {
    return const Scaffold(
      body: Placeholder(),
    );
  }
}
3. The new way to listen the App lifecycle event after Flutter 3.13
After Flutter 3.13, we can listen to the app lifecycle events using the new AppLifecycleListener class.
The AppLifecycleListener class provides a convenient and alternative approach for listening to app lifecycle events in Flutter. Instead of directly using the WidgetsBindingObserver mixin, you can utilize the AppLifecycleListener class to simplify the process.
To use AppLifecycleListener, create an instance of the class and pass the desired event callbacks that you want to listen to. This allows you to easily handle specific app lifecycle events without the need to implement the entire WidgetsBindingObserver mixin.
By using AppLifecycleListener, you can streamline your code and make it more readable and maintainable, as you only need to focus on the specific events you are interested in.
class AppLifecyclePage extends StatefulWidget {
  const AppLifecyclePage({super.key});

  @override
  State<AppLifecyclePage> createState() => _AppLifecyclePageState();
}

class _AppLifecyclePageState extends State<AppLifecyclePage> {
  late final AppLifecycleListener _listener;

  @override
  void initState() {
    super.initState();

    // Initialize the AppLifecycleListener class and pass callbacks
    _listener = AppLifecycleListener(
      onStateChange: _onStateChanged,
    );
  }

  @override
  void dispose() {
    // Do not forget to dispose the listener
    _listener.dispose();

    super.dispose();
  }

  // Listen to the app lifecycle state changes
  void _onStateChanged(AppLifecycleState state) {
    switch (state) {
      case AppLifecycleState.detached:
        _onDetached();
      case AppLifecycleState.resumed:
        _onResumed();
      case AppLifecycleState.inactive:
        _onInactive();
      case AppLifecycleState.hidden:
        _onHidden();
      case AppLifecycleState.paused:
        _onPaused();
    }
  }

  void _onDetached() => print('detached');

  void _onResumed() => print('resumed');

  void _onInactive() => print('inactive');

  void _onHidden() => print('hidden');

  void _onPaused() => print('paused');

  @override
  Widget build(BuildContext context) {
    return const Scaffold(
      body: Placeholder(),
    );
  }
}
4. What’s the difference?
The old way is very similar with the new way, to understand the main benefit of the AppLifecycleListener class, let’s take a look at the state machine diagram of the Flutter app lifecycle:

The diagram illustrates the various states of a Flutter app and the possible transitions between them. In the “old” approach, when overriding the didChangeAppLifecycleState method, you could only listen for the specific state changes, such as when the app transitioned to the resumed state. However, you were unable to capture information about the transitions between states. For example, you couldn’t determine if the app transitioned to the resumed state from the inactive or detached state.
With the introduction of the AppLifecycleListener class, you now have the capability to listen to these state transitions. This means you can track and respond to the sequence of states your app goes through, gaining a more comprehensive understanding of its lifecycle.
By leveraging the AppLifecycleListener class, you can effectively capture and handle the transitions between states, allowing for more precise control and customization of your app’s behavior.
class AppLifecyclePage extends StatefulWidget {
  const AppLifecyclePage({super.key});

  @override
  State<AppLifecyclePage> createState() => _AppLifecyclePageState();
}

class _AppLifecyclePageState extends State<AppLifecyclePage> {
  late final AppLifecycleListener _listener;
  String _currentState = '';

  @override
  void initState() {
    super.initState();

    // Pass all the callbacks for the transitions you want to listen to
    _listener = AppLifecycleListener(
      onDetach: _onDetach,
      onHide: _onHide,
      onInactive: _onInactive,
      onPause: _onPause,
      onRestart: _onRestart,
      onResume: _onResume,
      onShow: _onShow,
      onStateChange: _onStateChanged,
    );
  }

  @override
  void dispose() {
    _listener.dispose();

    super.dispose();
  }

  void _onDetach() {
    print('onDetach');
    _currentState = 'onDetach';
  }

  void _onHide() {
    print('onHide');
    _currentState = 'onHide';
  }

  void _onInactive() {
    print('onInactive');
    _currentState = 'onInactive';
  }

  void _onPause() {
    print('onPause');
    _currentState = 'onPause';
  }

  void _onRestart() {
    print('onRestart');
    _currentState = 'onRestart';
  }

  void _onResume() {
    print('onResume');
    _currentState = 'onResume';
  }

  void _onStateChanged(AppLifecycleState state) {
    // Track state changes
    if (_currentState == 'onInactive' && state == AppLifecycleState.resumed) {
      //to do something...
    }
  }

  @override
  Widget build(BuildContext context) {
    return const Scaffold(
      body: Placeholder(),
    );
  }
}
The other benefit is that you don’t need to implement WidgetsBindingObserver mixin, this will be greatly convenient for the cases with complex parent classes. In that case, you may need to implement WidgetsBindingObserver mixin in your parent class and pass data between them to handle the lifecycle event, but for now, you can do that anywhere you want!
5. Cancel the App exit action
You can cancel the App exit using AppLifecycleListener class. There is a callback even onExitRequested in AppLifecycleListener, this callback is used to ask the application if it will allow exiting the application for cases where the exit is cancelable. For instance, it could be used for MacOS applications where the user tries to close the app when there are unsaved changes.
To cancel the exit request, you need to return AppExitResponse.cancel from the onExitRequested callback. Otherwise, return AppExitResponse.exit to allow the application to exit:
class AppLifecyclePage extends StatefulWidget {
  const AppLifecyclePage({super.key});

  @override
  State<AppLifecyclePage> createState() => _AppLifecyclePageState();
}

class _AppLifecyclePageState extends State<AppLifecyclePage> {
  late final AppLifecycleListener _listener;

  @override
  void initState() {
    super.initState();

    _listener = AppLifecycleListener(
      // Handle the onExitRequested callback
      onExitRequested: _onExitRequested,
    );
  }

  @override
  void dispose() {
    _listener.dispose();

    super.dispose();
  }

  // Ask the user if they want to exit the app. If the user
  // cancels the exit, return AppExitResponse.cancel. Otherwise,
  // return AppExitResponse.exit.
  Future<AppExitResponse> _onExitRequested() async {
    final response = await showDialog<AppExitResponse>(
      context: context,
      barrierDismissible: false,
      builder: (context) => AlertDialog.adaptive(
        title: const Text('Are you sure you want to quit this app?'),
        content: const Text('All unsaved progress will be lost.'),
        actions: [
          TextButton(
            child: const Text('Cancel'),
            onPressed: () {
              Navigator.of(context).pop(AppExitResponse.cancel);
            },
          ),
          TextButton(
            child: const Text('Ok'),
            onPressed: () {
              Navigator.of(context).pop(AppExitResponse.exit);
            },
          ),
        ],
      ),
    );

    return response ?? AppExitResponse.exit;
  }

  @override
  Widget build(BuildContext context) {
    return Scaffold(
      appBar: AppBar(
        title: const Text('App Lifecycle Demo'),
      ),
      body: Center(
        child: Text(
          'Quit the App',
          style: Theme.of(context).textTheme.displayLarge,
        ),
      ),
    );
  }
}
The alert dialog will be shown when the user clicks the close button in the App.
6. Conclusion
Indeed, the AppLifecycleListener class introduces a fresh approach to listening to app lifecycle states, with a particular focus on capturing the transitions between these states. One notable feature of the AppLifecycleListener class is the inclusion of the onExitRequested callback. This callback streamlines the handling of exit requests, especially in scenarios where the exit can be canceled.
By utilizing the AppLifecycleListener class, you gain the ability to effectively monitor and respond to both the individual app lifecycle states and the transitions between them. Furthermore, the onExitRequested callback simplifies the management of exit requests, allowing for smoother cancellation or execution of the exit process based on your app’s specific requirements.
This streamlined approach to handling exit requests alleviates the burden of managing such scenarios and enhances the overall control and flexibility of your app’s lifecycle management.
![]()